


This process below is for Outlook 365. Final result of the instructions below should yield an appointment that contains all the elements in the picture below (though the image below is a screenshot from my Mac using the native Calendar app):
-
 Do NOT use gmail/google unless you know the recipient uses it—otherwise it can be an unnecessary hassle due to Google login requirements, especially for those with multiple Boogle accounts
-
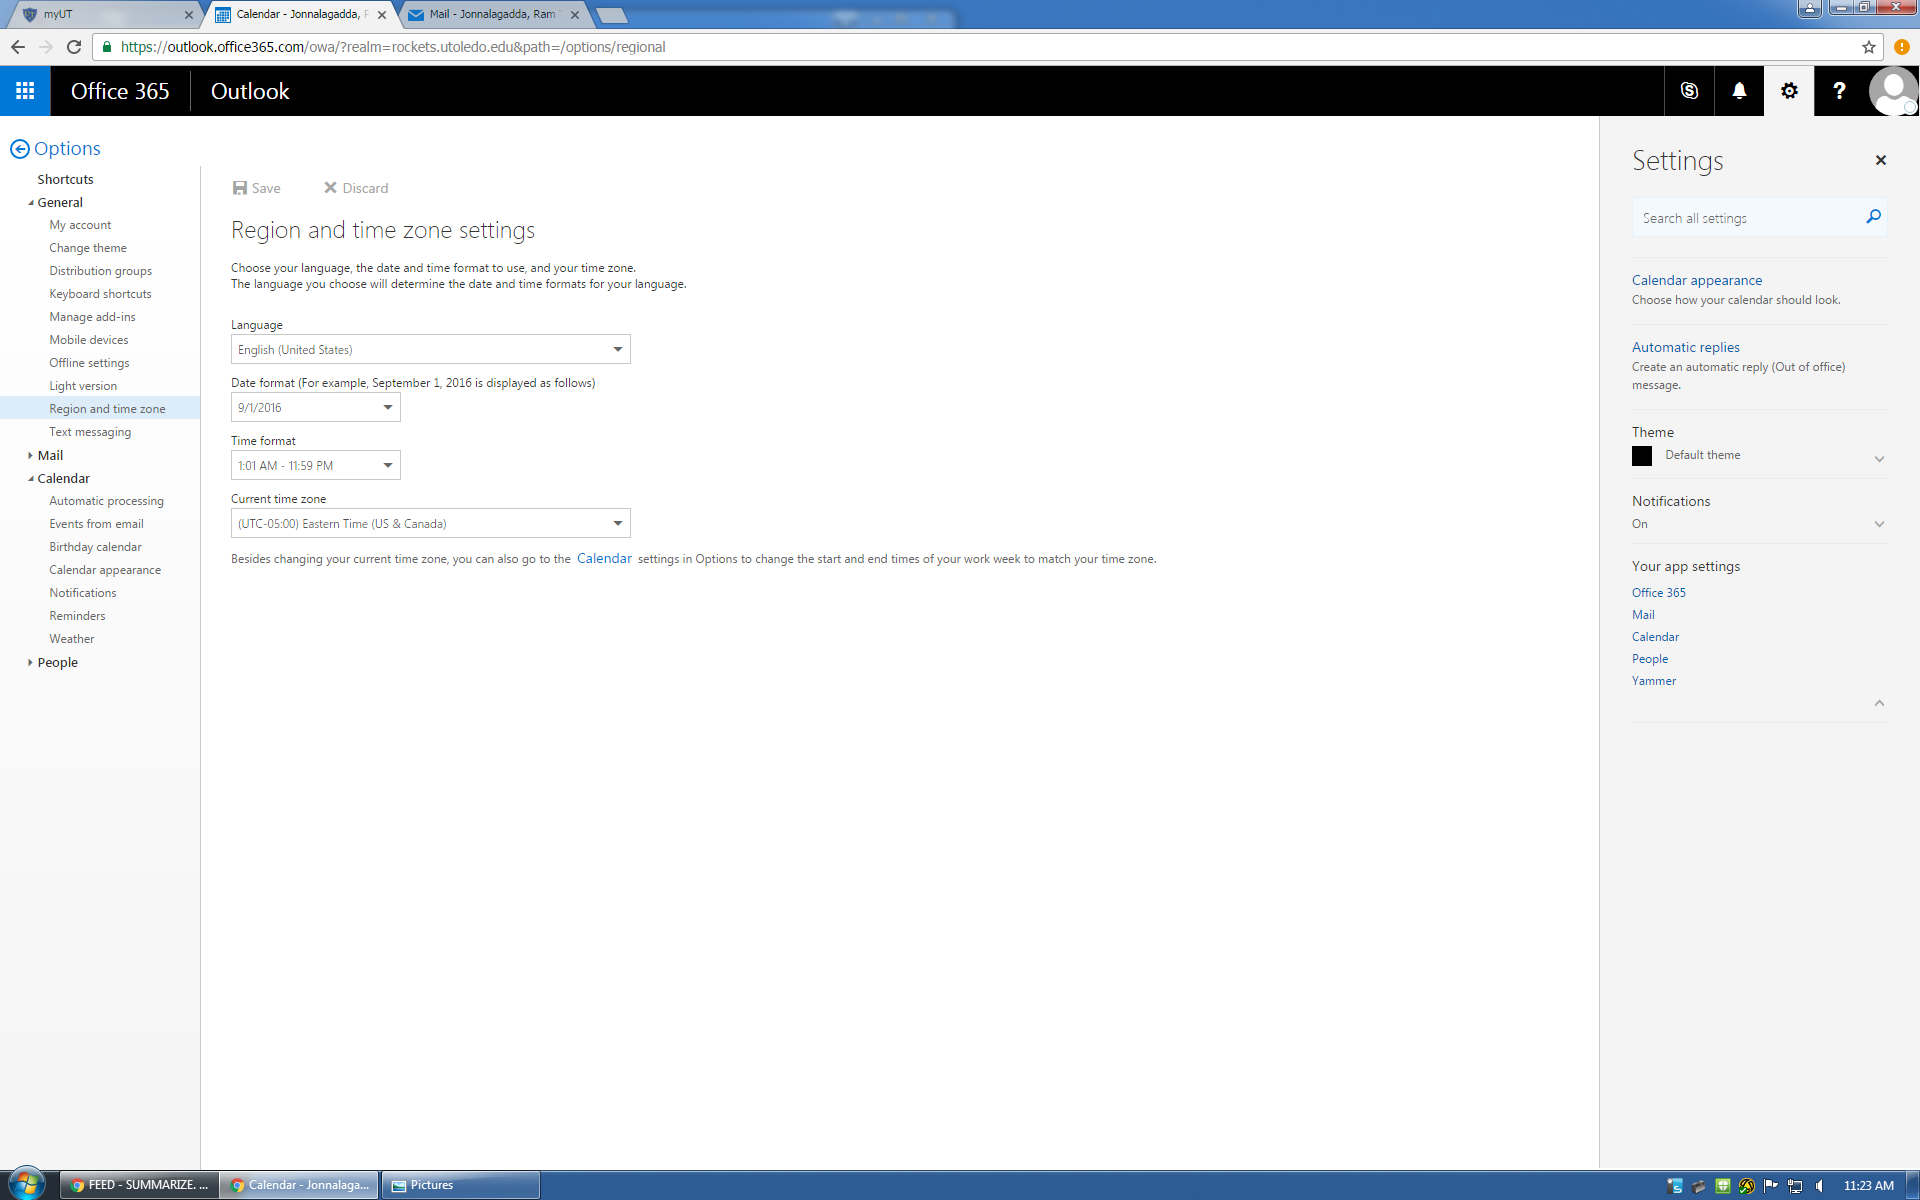
1.CRITICALLY IMPORTANT FIRST STEP--TIME ZONES: on the previous page you ALREADY made sure your computer/tablet/phone all had the correct TIME ZONE set. Unfortunately, Microsoft Outlook also has its own settings for Time Zones! So, to make sure you see times as they should be seen:
-
On your myUT Outlook 365 page click the gear icon (upper right corner)
-
in list that appears under the gear, select “calendar” (click this to see layout)
-
in the list that appears on left side of next screen, click “General” (not “Calendar”, oddly)
-
in the General submenu, click “Region and Time Zones” and select Eastern
-
2.CREATE NEW CALENDAR EVENT:
-
a) Click “New” to create a new event/appointment
-
b) in “Add People” field (top right), search name(s) of person(s) you want appointment with (for non-UT persons, just enter email address—for appointments with me, make certain to select my Scott.McIntyre@utoledo.edu address (not my mc@phabriq.com address)
-
c) click “Scheduling Assistant” above search field, after selecting recipient, so you can view their available times (this also helps when you’re scheduling a meeting time for multiple persons). This will show you their available times conveniently with colors! Now, just pick the best time most are available!
-
3.TITLE / SUBJECT: After finding a suitable meeting time, this field should include:
-
Your name, and the purpose of meeting including the name or subject of your project (see above)
-
The organizer's name (usually you) and mobile phone #. It’s also good to include the host’s name and mobile phone in case of last minute changes, so invitees can call right from the calendar event instead of having to launch a separate app, especially useful/safer if anyone runs late and may be driving.
-
specific location of meeting (if not simply the street address in the LOCATION field below), i.e. Suite 2045a, in my case (because adding a suite# to the address/LOCATION field usually throws off the map function)
-
 So, a proper TITLE/SUBJECT field would read something like this: “re: bunk bed swivel desk; Scott (424) 242-9748 & Mathew (419) 555-1111 ; suite 2045a”
 -
4.LOCATION field should include proper map-compliant address (just the street address, city, state, ZIP-code will yield an actual map view on most calendar apps). This is important in case anyone adds invitees later to join who don't know where it was scheduled to be
-
5.DATE/TIME/ALARM: Set the time you’re hoping for
-
Set a reminder/alarm...usually 15 min is usually a good reminder. But if drive time is needed, sometimes there's a separate field for that, otherwise it's best to account for that in the alarm setting. MOST IMPORTANTLY: This will trigger reminders for all invitees so they know to leave on time!
-
if you know they are traveling a long distance, make sure the alarm is enough time for them to get ready and get there.)
-
6.INVITEES: if you didn’t already enter emails for other attendees, entering them by their email addresses is usually the best policy. This way, other attendees will see the full email addresses and can contact others ahead of event if needed (car pooling for instance). Helps save time juggling separate apps. (FYI: if the other attendees are in your address book, their name will fill in automatically.